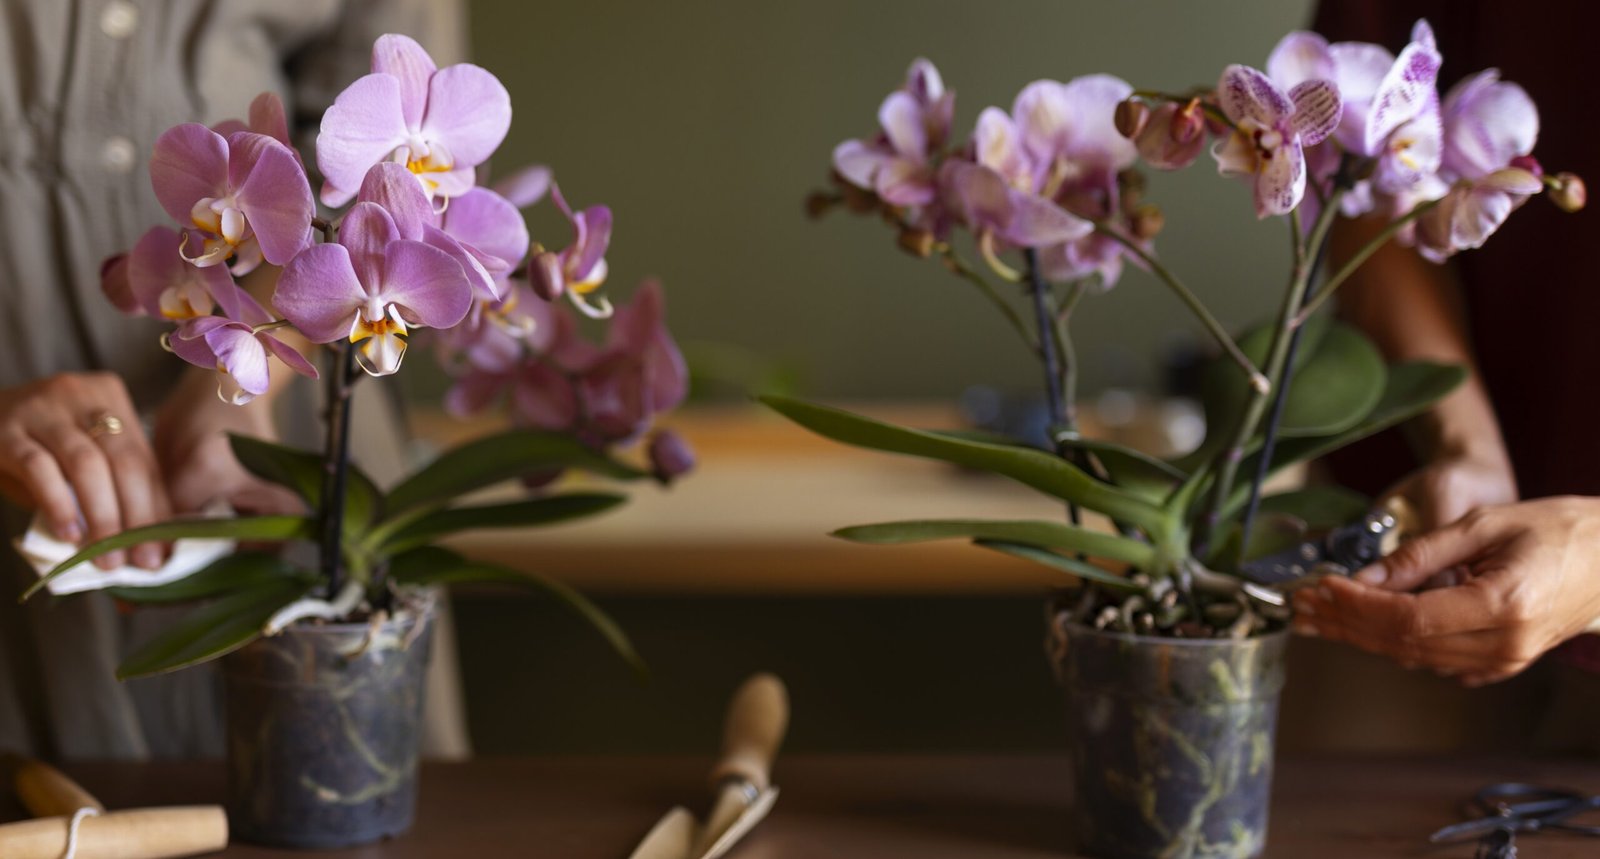
Orchids These are great looking and beautiful flowers that can easily turn Your home into a living paradise, However, only if You know how to care for them. Repotting is an important part of orchid care, and can become necessary when the plant tells you that it needs more space. This article will show you how to easily repot your orchid plant indoors by giving step-by-step instructions, tips for aerial roots handling and post-repotting care.
- How to Know if Your Orchid Plant Needs Repotting
- When to Repot an Orchid Plant
- What You’ll Need for Repotting Your Orchid
- Picking the Best Pot for Orchid Transplanting
- How to Choose the Best Potting Mix for Orchids
- How to Repot an Orchid Plant – Step-by-Step Guide
- How to Care for Your Orchid After Repotting
- How to Create the Best Environment for Orchids Indoors
- FAQ
How to Know if Your Orchid Plant Needs Repotting
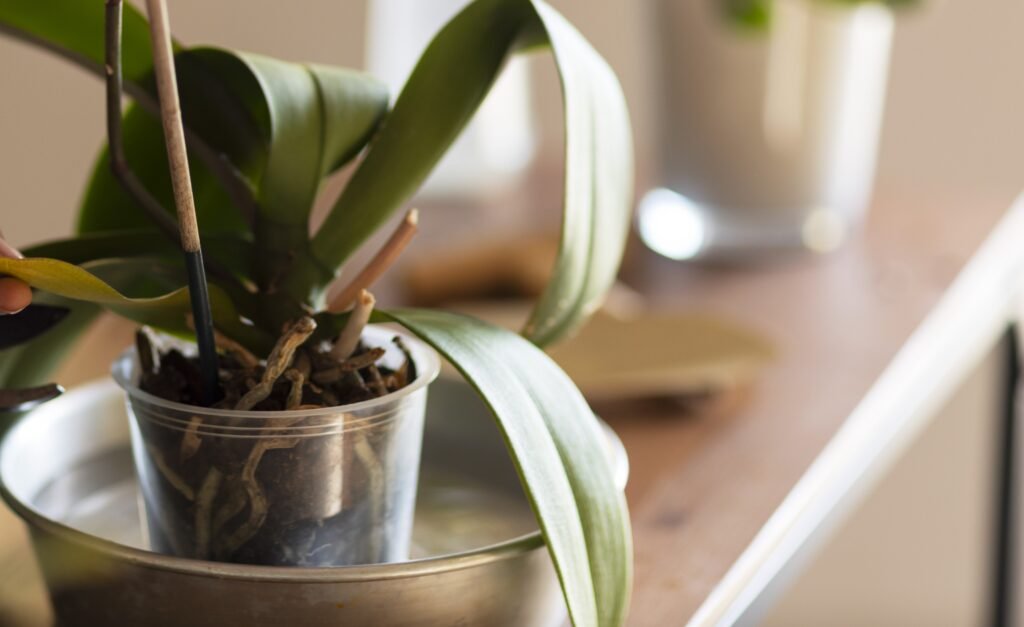
Orchids may appear delicate, but they can tell you when it is time to repot. Some of the most common signs are:
- Roots are popping out of this plant’s pot like.
- Potting mix is decomposed and no longer drains effectively.
- The roots of your orchid appear tangle, crowd and rotten.
- Fewer flowers on the orchid or it looks less healthy than usual.
Identifying these symptoms are important to prevent your plant from deteriorating. They can result in diminished growth or worse, the death of your orchid.
When to Repot an Orchid Plant
Best Time to Repot an Orchid Indoors
Orchids are best repotted right after they have finished blooming. Right now the orchids are dormant, so they went through less stress when you repot them. You´ll want to be careful about this though, since repotting can lead a plant into shock and make it drop the flowers if you do so while in full bloom.
When to Repot an Orchid with Air Roots
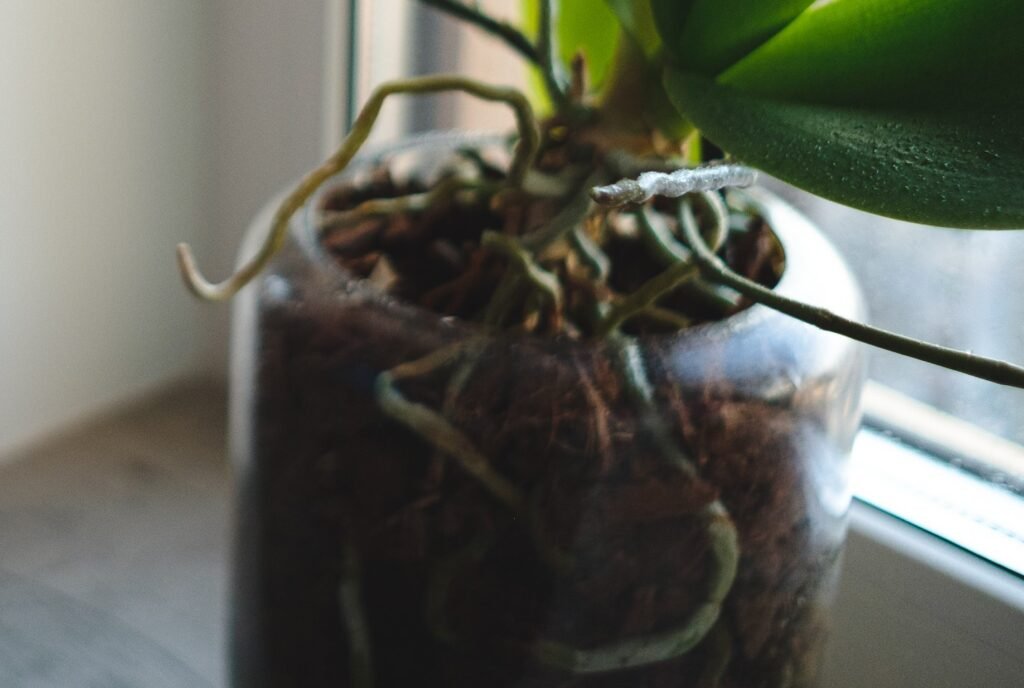
Air roots often pop up as orchids grow. If you notice aerial roots poking out of the pot or growing wildly in every direction, it might be a sign that your orchid needs more space. When repotting orchids with air roots, ensure you do not bury them. These roots help the orchid “breathe,” so it’s important to leave them exposed to the air, just as they would be in their natural habitat.
What You’ll Need for Repotting Your Orchid
Prepare the materials you need to make repotting easier before getting started:
- A new pot that is the right size
- Fresh orchid potting mix (bark or moss based)
- Pruning shears or scissors (sterilized)
- A clean surface to work on
- Cinnamon powder (optional, helps to prevent infection where roots were cut)
Gather all your tools ahead of time, so the repotting experience is smooth and easy
Picking the Best Pot for Orchid Transplanting
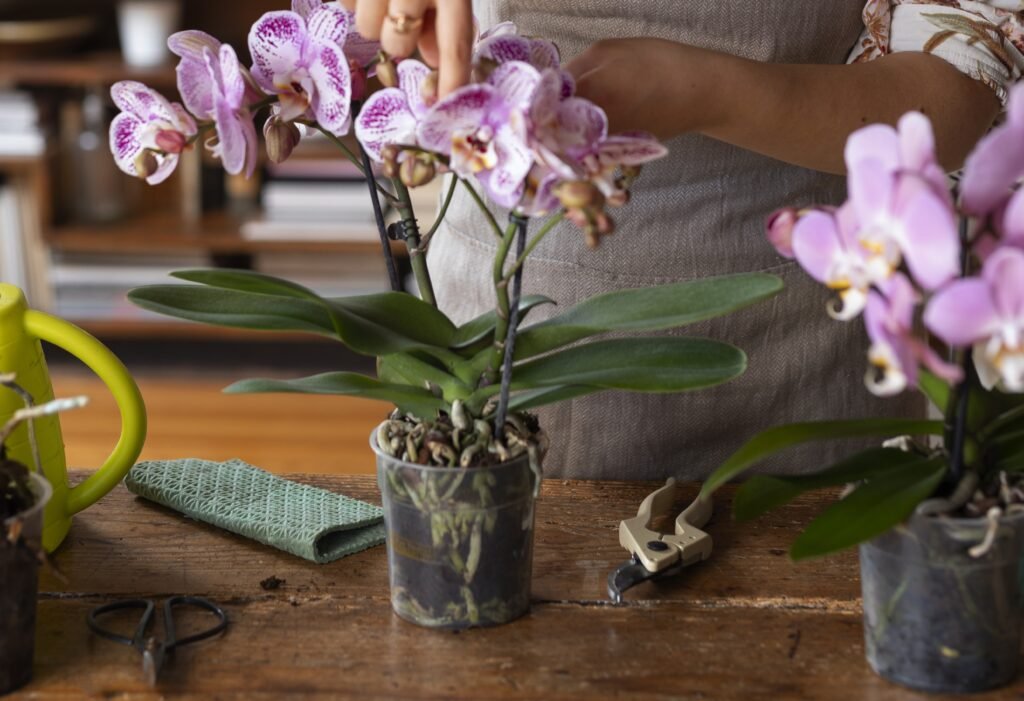
When it comes to orchids, select the proper pot because they flourish in well-drained indiscriminately. In an ideal scenario, choose a pot one size larger than your current one and has holes at the base for drainage. I love using clear plastic pots for this as you can get to see the roots without moving around with the plants. Or, a pretty pot with drainage holes that matches your home aesthetic.
How to Choose the Best Potting Mix for Orchids
Orchids are not your usual houseplants, they grow very badly in normal potting soil. Most orchids require a specific mixture of bark, sphagnum moss or the given compounded mix. These provide the air movement and drainage that orchid roots need. When repotting your orchid, use fresh potting media that drains well and is specially formulated for epiphytic (air-loving) plants like most orchids
How to Repot an Orchid Plant – Step-by-Step Guide
So given you have everything ready, we will walk through a simple step-by-step guide on repotting your orchid.
Step 1: Sterilize Your Potting Tools:
Sterilize scissor or pruner blades using rubbing alcohol. This is how You can prevent any infection that your orchid may have.
Step 2: Remove and Prep the Orchid
Take the orchid from its container by squeezing around your pot to let air in and remove it gently. Then shake off the old potting mix that is wrapped around with roots.
Step 3: Trim Dead or Dying Roots
Examine the roots. Trim off any brown or mushy roots using your sterilized scissors. Healthy roots will be firm and white.
Step 4: Place the Orchid in the New Pot
Position the orchid in the pot while lightly spreading out its roots. The base of the plant should be just above the potting mix.
Step 5: Fill the Pot and Integrate Roots with Soil
Pack the pot of orchid mix enough to surround all roots in the mix. Lightly tap the pot to let the mix settle around in between roots.
Step 6: Water the Orchid
After securing the orchid into place within its new pot, give it a lightly watering. Avoid overwatering, as newly repotted orchids are sensitive and need time to adjust.
How to Care for Your Orchid After Repotting
Tips for Orchid Care After Repotting
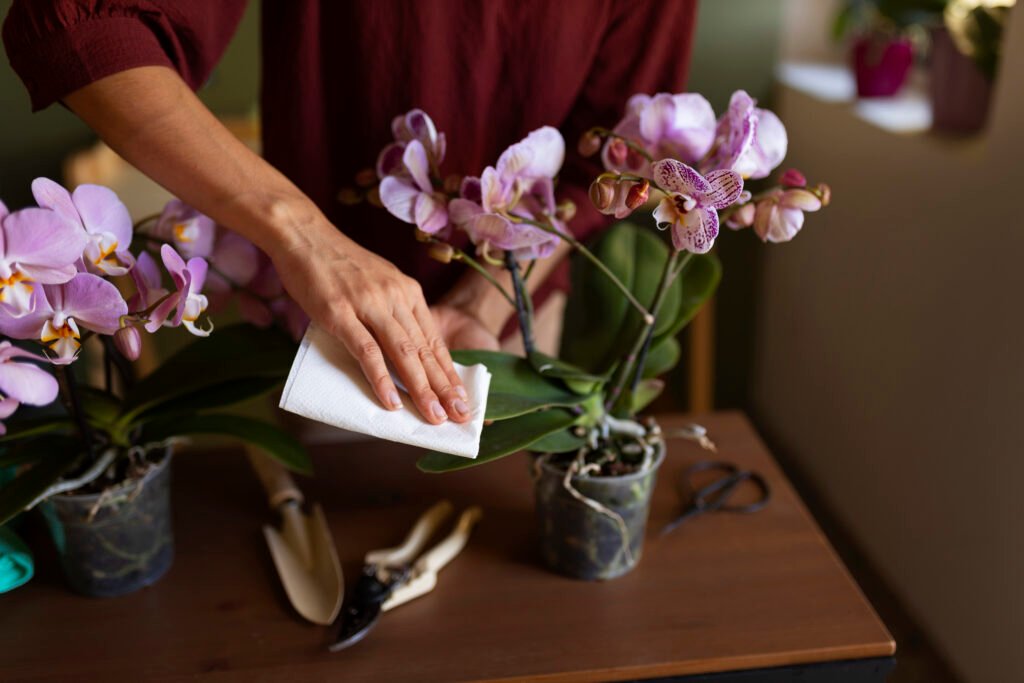
After planting again Your orchid may require special care. Keep it indoors for the first few days to allow it to recover. Gently return it to its normal position. Make sure there is direct sunlight. Don’t overwater your orchid immediately after repotting. First, allow the plant to become established.
Indoor Orchid Care Tips to Keep Your Plants Healthy
- Watering: Water lightly about once a week or when the potting mix is dry.
- Humidity: Orchids love humidity. Therefore, from time to time mist the leaves or place a humidity tray nearby.
- Light: Make sure your orchid has bright, indirect sunlight. But avoid placing it in direct sunlight. This will cause the leaves to scorch.
- Fertilizer: Feed your orchid with a balanced orchid fertilizer every so often. Two weeks during the growing season
How to Create the Best Environment for Orchids Indoors
Orchids grow in environments that mimic their natural tropical habitats. That means hot temperatures. Bright indirect light and high humidity Keep your orchids away from drafts and cold windows. And place it near a bright window so the orchid can enjoy filtered light. with appropriate conditions Your orchid will bloom beautifully and continue to grow indoors.
FAQ
How do I know when to repot my orchid plant?
You’ll know when the orchid starts to grow out of its pot. or the potting mix starts to break down You may notice fewer flowers and tangled roots
What is the best potting mix to use when repotting orchids indoors?
The best potting mix for orchids is made from bark, sphagnum moss, or a combination of both. These materials provide the necessary drainage and ventilation that orchids need
How should I care for my orchid after repotting it indoors?
Repot and keep the orchid indoors for a few days with just a little water. Make sure it gets indirect light and mist the leaves to increase moisture.
Can I use regular potting soil when repotting an orchid plant?
No, orchids need a special potting mix with good drainage. Conventional potting soil contains too much moisture and can cause root rot.

